In the realm of beauty, color correction has become a vital skill, especially for those dealing with redness. As per a recent survey by the American Academy of Dermatology, over 50 million Americans experience skin redness, often linked to conditions like rosacea and acne. Understanding how to use color corrector for redness can transform your skincare routine.
Applying the right color corrector can significantly influence makeup results. Green-toned correctors neutralize red areas effectively, providing a smoother base for foundation. Moreover, a 2023 industry report indicates that 70% of makeup professionals consider color correction essential for achieving a flawless complexion. Yet, many fans of beauty products overlook this technique.
It's essential to recognize that not every product suits everyone's skin type, which can lead to unsatisfactory results. Finding products that work well requires experimentation and patience. This guide will offer insights into optimizing color corrector applications, helping you navigate the colorful world of makeup with confidence.
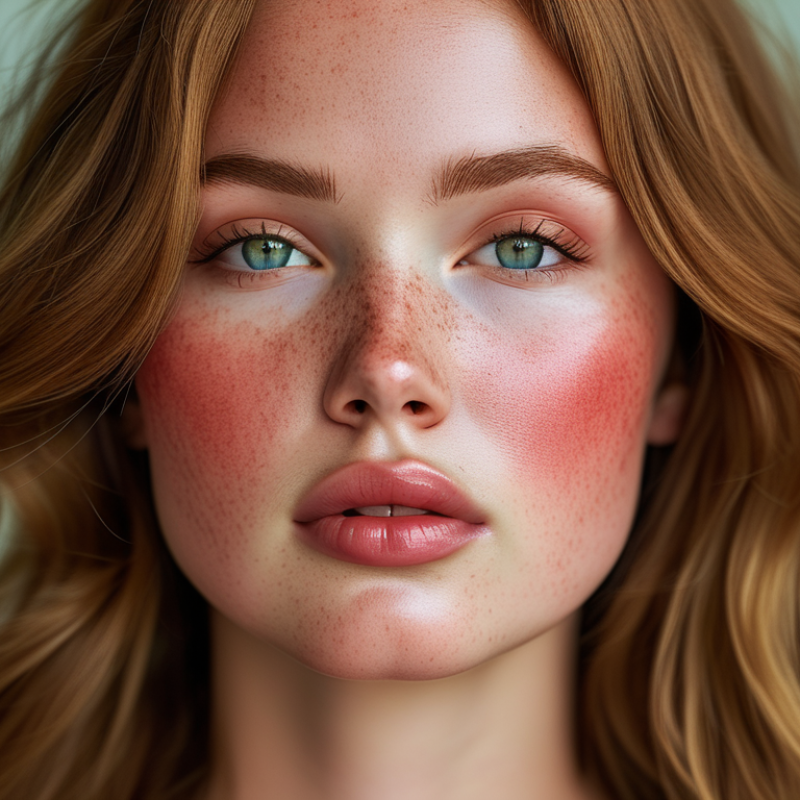
Color correction is essential for managing skin redness. It helps achieve a balanced complexion. Redness can stem from various issues, including acne, rosacea, or irritation. Studies indicate that about 30% of adults experience persistent redness. Understanding color correction allows individuals to address these concerns effectively.
Using color correctors involves applying specific shades to neutralize redness. Green correctors are the most popular choice. They counteract red tones, making them invaluable for problem areas. Research shows that over 60% of makeup users report improvement in their skin tone when using color correctors. This technique can boost confidence, particularly for those looking to enhance their appearance.
Tips to consider include starting with a lightweight formula. Heavier products can exacerbate redness and irritation. Blending well is crucial. An imperfect application can lead to noticeable patches. Test the product on a small area before full use. This step can prevent potential allergic reactions or adverse effects. Keep in mind that mastering color correction can take time and practice. Embrace the learning curve for better results.
Choosing the right color corrector is essential for tackling redness effectively. Green color correctors are often recommended for neutralizing red tones. They can diminish the appearance of blemishes, rosacea, or other skin irritations. However, every skin type is unique, and results may vary. It’s important to test different shades of green to find one that blends seamlessly with your skin tone.
When applying, use a light hand. Start with a small amount and build coverage as needed. A damp makeup sponge can help in blending the product without disturbing the foundation beneath. Remember that over-applying can lead to a patchy look. Even professionals can struggle with this, so be patient and observe how the product settles on your skin throughout the day.
Be mindful of the finish. Matte finishes can emphasize dry patches, while dewy ones might add to an oily appearance. Experiment with various formulas, such as creams or liquids, to discover what works best for your complexion. It’s always about balance, and finding the right shade and texture might take time and practice. Don’t hesitate to step back and reassess your technique. Sometimes, taking a break is the best approach to perfect your application method.
Using a color corrector for redness can make a significant difference in your makeup routine. Start by selecting a green color corrector. Green neutralizes red tones effectively. Apply a small amount to the areas with redness. Use your fingertip or a brush for precise application. Gently pat the product in, ensuring it blends well with your skin.
The application technique matters. Less is more when it comes to color correcting. Apply thin layers to avoid an unnatural look. If you feel it’s too heavy, it can be a challenge to fix. Sometimes, less coverage might work better. Check your progress in natural light to see how well it blends.
Consider texture as well. Creamy formulas often provide more coverage, while liquid options offer a lighter finish. Keep your skin type in mind. Oily skin may require a matte formula, while dry skin will benefit from hydrating textures. If you aren’t satisfied, think about adjusting your technique or product choices for a better match to your skin's needs.
Choosing the right color corrector can drastically improve your makeup routine. When tackling redness, green correctors are popular for neutralizing the tonality. But applying them effectively requires careful technique.
Start with a small amount. Less is often more. Dabbing a bit onto the problematic area helps control coverage. Use your fingers or a brush to gently blend. Opt for tapping motions rather than sweeping; this preserves product effectiveness.
Now, think about setting your makeup. After blending, use a sheer powder for a natural finish. Focus on areas prone to shine. Avoid heavy layers, as they can create a cakey appearance. Remember, achieving a flawless look takes practice. Don't rush the process; assess how each step impacts the final outcome.
| Step | Description | Tips |
|---|---|---|
| 1 | Choose a green color corrector to neutralize redness. | Use a small amount to prevent an overly green appearance. |
| 2 | Apply the corrector gently onto the red areas. | Use a patting motion with your fingers or a sponge. |
| 3 | Blend the corrector with your foundation. | Mix thoroughly for an even skin tone. |
| 4 | Set the makeup with a translucent powder. | Use a light hand to avoid caking. |
| 5 | Check the makeup in natural light. | Adjust as necessary if any redness is visible. |
Color correction can be a game-changer for those struggling with redness in their skin. However, many people unknowingly make mistakes that counteract their efforts. One common error is using too much product. A study by the American Academy of Dermatology found that excess layering can lead to a cakey appearance, which only amplifies redness rather than conceals it. A light touch is crucial.
Another frequent mistake is neglecting to blend properly. According to a survey conducted by Beauty Influencers, 72% of users reported visible lines due to improper blending techniques. Using fingertips or a damp sponge can enhance the blend and provide a more natural finish. This reflects the need for practice and patience, as blending can require time to master.
Additionally, selecting the wrong shade can worsen the situation. Research from Color Shift Insights notes that 55% of users do not consider their undertones when choosing a corrector. A green corrector, for example, can neutralize red tones effectively. Yet, if applied poorly, it can create a ghastly contrast. Understanding one’s skin tone is vital for achieving the desired effect. Always test products before applying them all over to avoid any unflattering outcomes.
: Color correction helps manage skin redness and achieve a balanced complexion.
Apply a small amount and gently dab on the area. Blend using tapping motions for best results.
Using too much product and neglecting to blend properly can worsen redness and create a cakey look.
Proper blending prevents visible lines and enhances a natural finish, requiring practice and patience.
Consider your skin undertone. Testing products on a small area helps avoid unflattering contrasts.
Set with a sheer powder to maintain a natural finish, focusing on shiny areas.
Mastering techniques through practice leads to better application and enhanced appearance over time.
Heavy layers can create a cakey appearance, which may amplify redness instead of concealing it.
Start with a lightweight formula to minimize irritation and ensure a balanced look.
Not considering one’s skin tone can lead to the wrong shade being used, resulting in poor outcomes.
In the "How to Use Color Corrector for Redness in 2026 Guide," the article emphasizes the significance of color correction as a crucial technique for achieving a more even skin tone. It begins by explaining the principles of color correction, specifically focusing on how certain shades can neutralize redness. The guide offers a comprehensive overview of the types of color correctors available and how to choose the right one tailored to individual skin concerns.
Following this, the article provides a detailed, step-by-step application process for effectively using color correctors for redness. It highlights essential tips for blending and setting the corrector to ensure a flawless finish. Finally, readers are advised on common mistakes to avoid when working with color correctors, ensuring they achieve the desired results. This guide serves as a valuable resource for anyone looking to master how to use color corrector for redness, helping them enhance their makeup skills and boost their confidence.
