How to Do Makeup for Flash Photography Top Tips
Flash photography can expose details that ordinary lighting quietly hides. Shine, dry patches, heavy powder, and uneven foundation may appear within seconds. This guide explains how to do makeup for flash photography with practical, tested techniques. It focuses on skin preparation, foundation matching, powder placement, eye definition, and final camera checks.
Professional makeup artist Bobbi Brown once said, “Makeup is a way for a woman to look and feel like herself, only prettier and more confident.” That principle matters under a flash. Your skin should still look like skin. Start with a thin moisturizer layer, then allow it to settle before applying foundation. Choose a formula that matches your neck, not only your face. Avoid excessive SPF when suitable alternatives are available, because some formulas can create a pale cast in direct flash. Test the product under the actual camera light.
Small adjustments make a visible difference. Press powder around the nose, forehead, and chin. Do not cover the entire face automatically. Add soft definition to the cheeks, brows, and lash line, since flash can flatten natural dimension. Blend every edge near the jaw and hairline. Check the under-eye area for creasing. Then take a test photograph from several angles.
Even experienced artists make mistakes. Too much powder can look dry, while too little can create distracting shine. A beautiful mirror finish may photograph differently. Use this guide as a flexible starting point, not a rigid formula. Your camera, venue, skin texture, and lighting distance will change the final result.
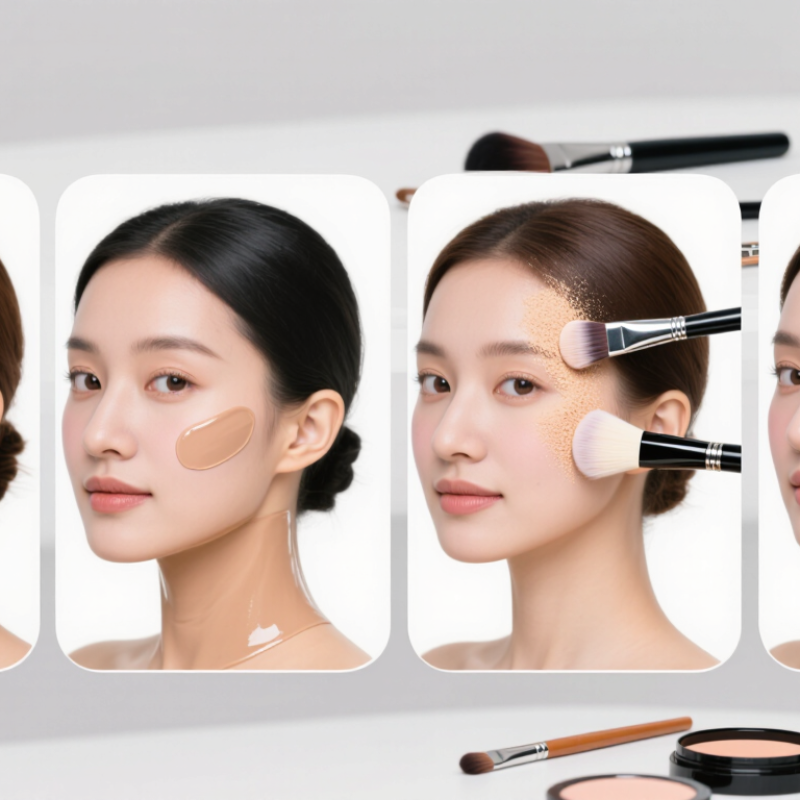
Understanding How Flash Photography Affects Makeup
Flash photography changes how makeup appears on camera. A direct flash can flatten facial depth, making cheeks, noses, and jawlines look less defined. It can also exaggerate shine, dry patches, and uneven texture. Under bright light, foundation may appear heavier than it feels in person. I have noticed that a natural-looking base can photograph surprisingly pale when its undertone is slightly wrong.
Tips: Use thin layers and press them into the skin. Keep powder focused on the forehead, nose, and chin. Avoid excessive shimmer near the center of the face. Reflective particles can create bright white patches under flash. Check your makeup with a test photo from several angles, not only in a mirror.
Flash also affects color balance. Strong light may reduce warmth in blush and lipstick, while dark contour can look muddy. Soft, carefully blended color usually photographs better than sharp lines. Add definition gradually around the cheeks and eyes. Concealer deserves attention too; too much product under the eyes can emphasize fine lines when the flash freezes every detail.
Do not trust one test shot. Movement, distance, and camera settings can change the result. I sometimes adjust makeup after seeing the first image, because my original judgment was too confident. Skin preparation matters as well. A moisturized surface helps makeup sit evenly, but a rich layer may increase shine. The best result usually comes from balance, not maximum coverage.
FAQS
Cleanse gently and press the skin dry with a clean towel. Do not rub. Apply hydrating essence or serum while the skin remains slightly damp. Follow with a suitable moisturizer. Let it settle for five to ten minutes.
The forehead, nose, and chin often produce more shine. Use a smaller amount there. Keep the cheeks and mouth area comfortable, not greasy.
Flash can make oily areas look intensely reflective. This may create bright patches on the forehead, nose, and cheeks. Use lightweight hydration instead. Less can be better.
Allow skincare to absorb before applying primer or foundation. Gently blot excess product around the nose. I once rushed this step, and the base separated badly. That mistake still influences my routine.
Choose a natural or soft-matte finish. Very reflective formulas can exaggerate shine under direct flash. Avoid applying one thick layer. Thin layers work.
Test the shade along your jawline, not your hand. Your face and neck should blend without a visible border. Check the color under direct flash before the event. Indoor mirrors can mislead you.
Use a damp sponge and press the product into the skin. Do not sweep aggressively across dry texture. Wait about ten minutes before checking shine. The finish may change.
Choose a concealer close to your foundation shade, or only slightly brighter. Strong under-eye contrast can look harsher in flash photos. Use a small amount near dry lines. Too much product may crease.
Use brightening powder carefully, especially powders with light-scattering particles. Excess powder can leave pale residue under flash. Apply only where shine needs control. Perfectly matte skin is not always healthier-looking.
Take several photos from the expected distance and use the same flash setting. Check your face while standing, turning, and moving. One test is not enough. I sometimes trusted the mirror too quickly.
Conclusion
Learning how to do makeup for flash photography starts with understanding how bright, direct light can emphasize shine, texture, uneven coverage, and overly reflective products. Begin by cleansing and hydrating the skin, allowing skincare to absorb before applying makeup. A smooth, well-moisturized base helps foundation and concealer sit evenly without looking dry or heavy. Choose formulas that provide natural-looking coverage and avoid excessive shimmer, while carefully matching the complexion to prevent a noticeable difference between the face and neck.
For camera-ready definition, use contour, blush, and highlight with a light hand and blend thoroughly. Flash can intensify color, so balanced, softly layered makeup usually photographs better than dramatic application. Set areas prone to shine, especially the forehead, nose, and chin, while keeping the skin looking fresh. Before finishing, take a test photo with flash from different angles and check for shine, harsh lines, uneven coverage, or visible texture. Make small adjustments so the final look appears polished both in person and on camera.
